 The history of this Leaked started in 2011 when a guy named Dylan, who introduced himself as part of the Epic staff, promised to release some unfinished game builds that he had access to. He then disappeared just before making all of them public, for reasons that would only become clear at a later date. This guy probably did something at Epic, most likely trivial/uncredited stuff, and someone from the studio must have figured out who he was and what he was about to do. It is therefore very strange to see this leaked almost 9 years after those events, yet here it is!
Interested in trying it? Hit the Read More and I’ll guide you through!
What’s Missing or Not Working?
Should I had to express myself by a percentage I would say that the game is 95% complete.
- The biggest lack is definitely Sound. All the files from the Audio Subsystem are missing and any attempt to use UT2004’s ALAudio fails as the engine refuses to load it.
- Movies are not visible. So no animated Arena and Character previews in the menu.
- The final TeamSkins are missing, replaced by completely red and blue skins in Utcomp style. They’re acceptable, of course, even if they’re not as bright as the Brightskins that came out with the game.
- Bloom is missing, which can be a positive note for some people. However some lights and few other elements aren’t as bright as they should be.
- Direct3D shaders that create transparent distortions aren’t working: either a non-transparent normal map or a blue or black texture is shown in their place. More often than not this is not an issue but using some skills that place them on our character, such as Skaarj’s Blade Shield, forces you to switch in first person to not have the view covered.
- Lastly, of course, the old XBox Live no longer works. Microsoft shut down those servers several years ago so whether you are on Xbox or PC in this case there is no difference. But multiplayer DOES work!
So why play this Leaked?
Because there are several things that work, just as some problems are easily circumvented.
- Online Play. Microsoft’s service may be discontinued, but we can still connect to friends via the “open <ip>” console command and play with them without having to rely on third-party software such as Xlink Kai.
- We can access all the DLC content! On the Xbox Epic decided they won’t release a micro patch that can unlock those contents for everyone, but on PC we can do it ourselves. Read on to know how to gain access to everything.
- The issue about shaders not working sounds worse than it actually is. Gameplay-wise only the invisibility powerup is actually affected by this problem.
- Customization! In this version there’s the complete game source code, all of the assets, the unreal editor, every map (even a folder chock-full with incomplete levels) and, in the system folder, there are lots of .ini that allow you to modify a huge amount of things.
- Last but not least: Mouse and Keyboard! With all the benefits that comes with them.
Fundamental Steps
Step one, of course, download it from here: [link-1] or here: [link-2]
Step two, we have to make it start. Download this small zip: [link] and put these two files in your UC2004/System/ folder by replacing Core.dll and adding msvcp71.dll. Now open Avaris.exe and the game should start.
Avaris.ini is the equivalent of UT2004.ini while User.ini is User.ini (you don’t say?!). One of the most common bugs is that the game writes random junk inside these two files so, to keep them safe, you should set them to read-only when you’re done with your tweaks. Don’t worry: you won’t lose anything of what you can change in-game as your settings will be saved in your profile file and not in User.ini.
To correctly close the game without making it crash open the console with the Tab key and use the Quit or Exit command.
Fixed Maps
The shader issue I mentioned earlier makes some areas of 13 maps not very pleasant to see. Nothing that requires a lot of work but it still takes some time to fix them all and not everyone knows how to use the Unreal Editor so I collected my fixed maps in the following zip. Back up the original files and unzip my version in the Maps folder: uc2-fixedmaps.zip (17.3 MB)
List of the maps included and what I fixed:
- DM-Praxis – windows facing the ocean floor have the normal map in plain sight;
- DM-Undertow – windows facing the ocean floor are white;
- DM-Horizon – there is no water distortion, only the normal map is visible;
- OD-Falls – as above, on the little falls inside the acqueduct;
- DM-Azure – as above, on the little fall inside the temple;
- DM-Decay – icicles only show the normal map;
- DM-ColdFusion – as above, plus the screens aren’t playing any movie;
- DM-Sovereign – the force fields on the sides of the map are not transparent;
- OD-Sovereign – as above;
- CTF-Gauntlet][ – as above;
- CTF-Octane – the glass floor in front of the flags is not transparent;
- CTF-Downfall – water is totally white;
- CTF-Monoxide – emitters are spitting out a huge blue texture.
NB: If you want to play online with someone tell him/her to download them too, the map files must be the exact same!
Hi-Res or HUD?
If you open Avaris.ini you’ll notice that we can set the resolution we want. However, doing so will have some downsides. On the Menus some elements will remain fixed while others will stretch. On the In-Game HUD everything will remain stoutly immutable pixel by pixel. Sifting through the source code I found out that trying to resize something is in vain, since all these elements have been positioned with absolute coordinates made especially for the resolution of the first xbox, which is 640×480.
Having no desire to manually change all the hundreds of resolutions of the various UCElements and recompile the game from scratch, I’m using it at 640×480 with an insanely high Anti Aliasing plus Radeon Image Sharpening and… I expected worse, I must say. Obviously, nothing prevents you from trying it or playing it at higher resolutions, just be aware that the HUD will remain small in the upper left. Crosshairs included, unfortunately. (except for the stinger!)
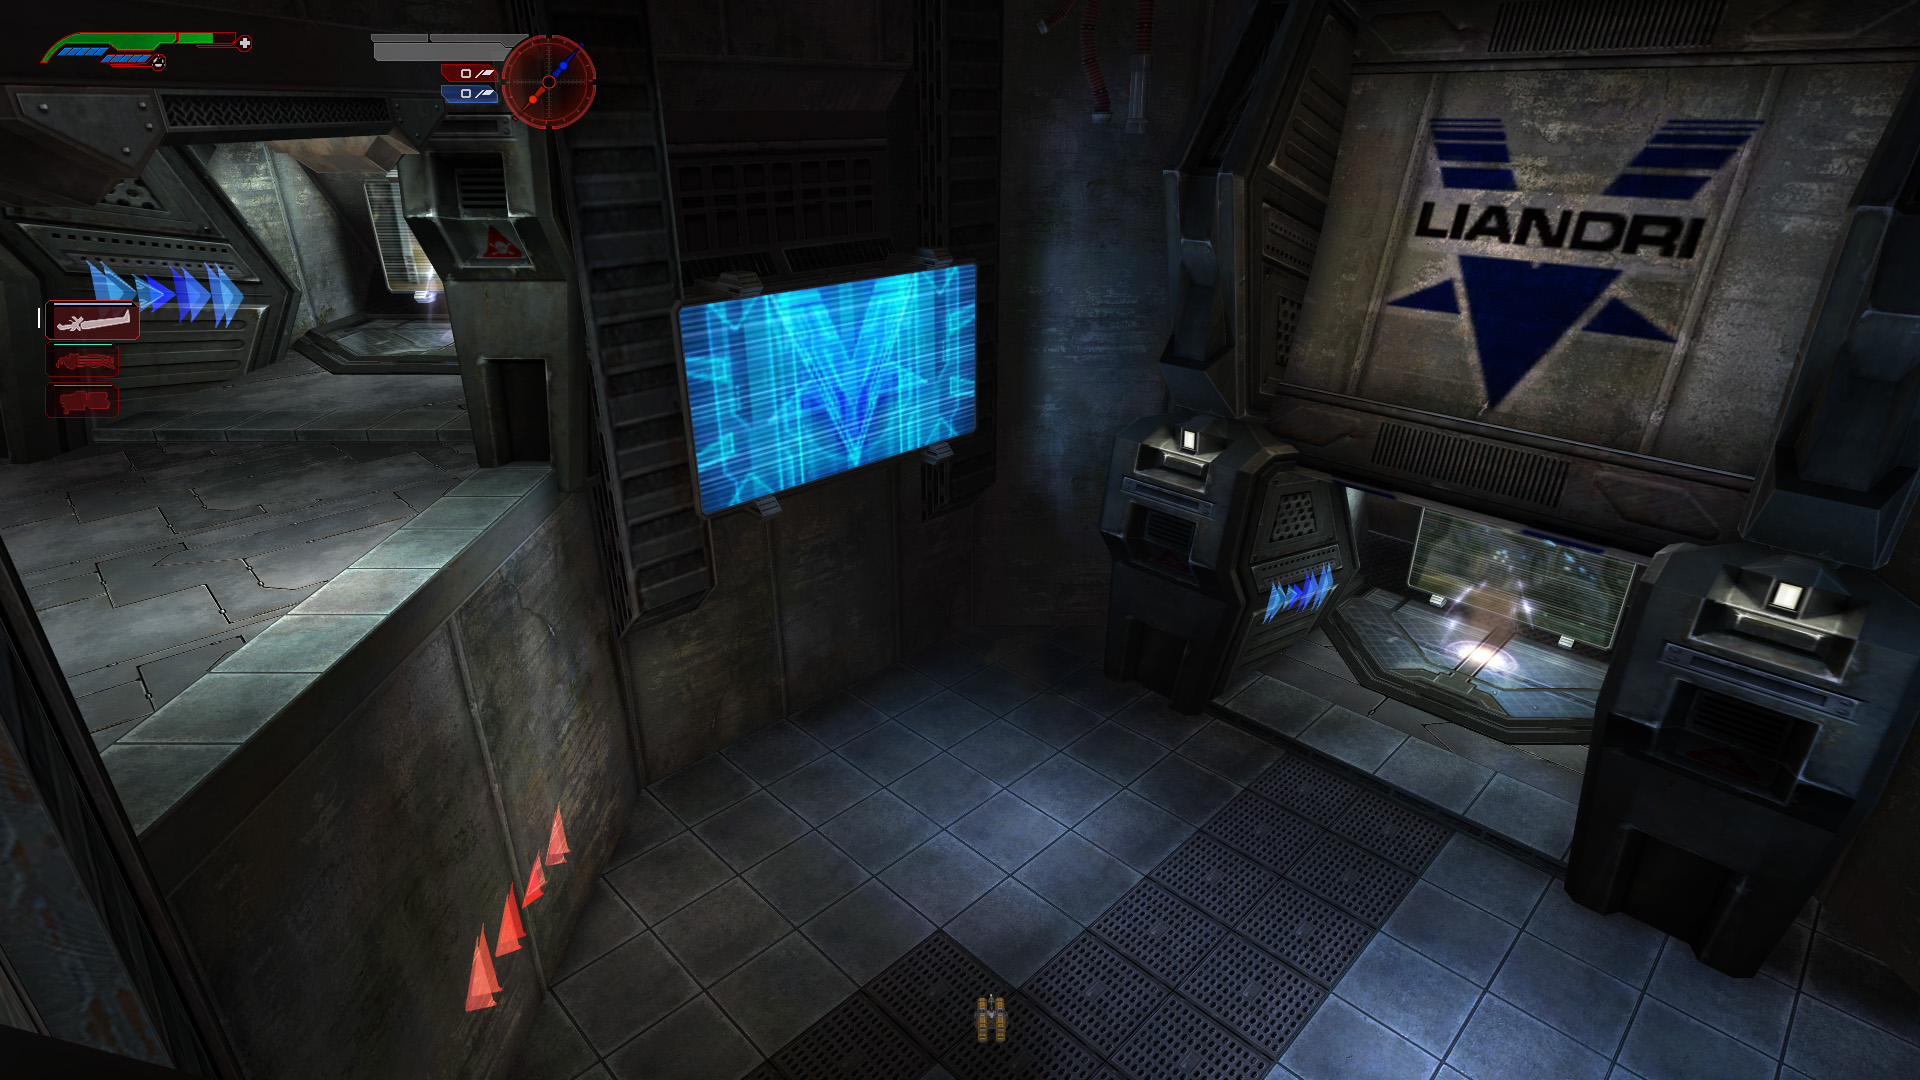
However… it is undeniable that everything looks pretty nice in FullHD:


Making modern Xbox Gamepads Work
Back when UC2 was designed, there were no “modern” Xbox gamepads yet. Browsing ini files you’ll find several references to the black and white buttons, for example. I own an Xbox Series X/S wireless controller (3rd revision, model 1914) so these settings are made for that but it should be similar to all gamepads from the Xbox 360 onwards. First, let’s start by making the analog sticks work. Go to User.ini and add these lines to the bottom of the key list:
JoyX=Axis aStrafe SpeedBase=100.0 DeadZone=0.1 Invert=+1
JoyY=Axis aForward SpeedBase=100.0 DeadZone=0.1 Invert=-1
JoyZ=
JoyR=Axis aMouseX SpeedBase=0.1 DeadZone=0.1 | Count bXAxis
JoyU=Axis aMouseY SpeedBase=0.1 DeadZone=0.1 Invert=-1 | Count bYAxis
JoyV=
Hooray, levers are working! The problem now is that many of the other keys are messed up because the order in which the game expects them no longer matches the order they have in the new pad. These are not controlled by User.ini but by KeyBinds.ini and are divided into different layouts. You can switch between them on the fly from the option menu. I only “fixed” DEFAULT, which is the first one. If you prefer another layout fix it yourself. The comments after the semicolon are only for changed buttons, you can copy-paste them inside your .ini file. It will make your life easier if you want to remap everything.
[Layout_0]
Title="DEFAULT"
AButton=Jump
BButton=MeleeAndPounce
XButton=Combo
YButton=Ranged
BlackButton=AltFire		; LB
WhiteButton=Fire		; RB
LeftTrigger=Scoreboard		; View
RightTrigger=Menu		; Menu
DPadUp=NextThird		; LeftStickButton
DPadDown=Lock			; RightStickButton
DPadLeft=Scoreboard		; Not present
DPadRight=Scoreboard		; Share
Start=AltJump			; DPadUp
Back=VoiceUp			; DPadRight
LeftStickButton=PrevVoice	; DPadDown
RightStickButton=VoiceDown	; DPadLeft
LeftStick=Move
RightStick=Look
NB: the two analog triggers are not perceived by the game as two individual buttons, so primary and secondary fire are bound to RB and LB respectively. (which is even better in my opinion, I prefer to have a digital button with an instant response rather than having to go through the dead zone of an analog lever that doesn’t fire until you’re almost halfway)
I took a screenshot for every layout, just for reference. Have fun!


More Fine-Tuning for Mouse and Controller
Time to give our mouse some love! Important disclaimer before we start: mouse sensitivity IS affected by the sensitivity sliders you can find in the gamepad options in-game. The higher you set those sliders the less fluid your mouse will become. What I’m doing in this section is to set things in a way that makes both mouse and the xbox gamepad feel right, and that means lowering numbers. I started by setting the sensitivity sliders ingame right in the middle. Do that too and follow my steps.
The settings that control mouse sensitivity are in User.ini, they’re among the other keys in the keybinds section. Look for the following lines:
MouseX=Count bXAxis | Axis aMouseX Speed=6.0
MouseY=Count bYAxis | Axis aMouseY Speed=6.0
My mouse is a Logitech G402 Hyperion Fury and I use it at 1800dpi so I have set them both to 0.38. Of course everyone will have to do his tests since not all mice are created equal and, on top of that, everyone has different tastes and different mouse settings.
My suggestion is to set them both at 1.0, follow the rest of the instructions and then come back and fine tune your sensitivity by tweaking only those two parameters. This way you’ll only have to deal with two lines.
While we’re in User.ini, scroll to the bottom and you will find the [UCGameplay.UCPlayerInput] section. Here’s what I discovered after a lot of cross-testing between Pad and Mouse:
MouseSensitivity_X=1.0
MouseSensitivity_Y=0.9
These two lines have very little influence on the gamepad but much more on the mouse. With my Logitech G402 I brought them down to 0.2 and 0.1. With this we achieved two things: aiming is definitely more manageable, even if still not great, but changing our view is finally as smooth as it should be. Remember that X stands for horizontal and Y for vertical. But we’re not done yet…
bNonlinearAccel=true
aMouseX_Limit=100
aTurn_Limit=1024
aTurn_FallOff=2.0
aMouseY_Limit=100
aLookUp_Limit=1024
aLookUp_FallOff=2.0
This section should be for gamepads but the mouse also benefits from it (I can’t really figure out why). It’s not very intuitive but I’ll try my best to explain it.
- aTurn_Limit and aLookUp_Limit indicate the full distance an analog stick can cover from its rest position to the edge of its “nest”. Being set to 1024, imagine dividing that distance into 1024 points.
- aMouseX_Limit and aMouseY_Limit indicate from which point, of those 1024, the game starts moving the camera at maximum speed. So, since this value is set to 100, as long as we are within a distance of 100 over 1024 the view will move slowly, from 101 and up the view will move at full speed.
- The two FallOff values dampen the speed with the distance making it easier for us to control it.
I don’t know if the analog sticks of the first Xbox Pad reacted differently but, personally, I find aiming with these values like an extreme sport. Here’s how I set them up:
bNonlinearAccel=true
aMouseX_Limit=512
aTurn_Limit=1024
aTurn_FallOff=0.75
aMouseY_Limit=512
aLookUp_Limit=1024
aLookUp_FallOff=0.85
This way the camera moves at a controllable speed for half of its travel, making aiming much easier. In case I need to do a 180° turn I can pull all the way to the edge. By reducing the FallOffs like this, I still have an almost instant speed for turns, quite comparable to what I could get using my mouse.
bAccelMultipliers=true
aMouseX_AccelLimit=95.0
aMouseX_AccelRange=(Min=1.0,Max=2.5)
aMouseX_AccelMaxTime=0.5
aMouseY_AccelLimit=95.0
aMouseY_AccelRange=(Min=1.0,Max=1.5)
aMouseY_AccelMaxTime=0.75
These latter values are for the acceleration. When I started to play with values I modified some of them, but since I was able to set the previous section properly I decided to reset this whole section to default. Everything feels more natural to me this way. Personally I don’t think they affect the mouse in any way but if you only use your mouse you may want to disable everything by setting bAccelMultipliers=false to avoid any kind of disturbance. Especially if you don’t like acceleration.
If you’re only using a mouse you may also want to get rid of camera auto centering. I know there is a section for it in User.ini but do not modify it. It’s easier to go into Option -> Controller and disable “Centerview”.
With these settings, in my opinion, we’re at a good point… actually, I would go so far as to say that this way it works even better than the original!
Making Infinite Walldodges Work on Keyboard
In User.ini you’ll see that we have the usual MoveForward, MoveBackward, StrafeLeft and StrafeRight functions already assigned to WASD and to the arrow keys. This is an issue, because these are the base Unreal Tournament movement functions. They aren’t using UC2 custom movement so you can’t walldodge with them and you can’t climb those “chimneys” scattered in every map.
So what can we do? We can trick the game into thinking those keys are analog sticks! On top of that, however, we must make them behave like real digital keys. If we just cut&paste the same code we’ve put on the analog levers our character will start moving at the base speed and sloooowly accelerate, so we have to match the base speed to the maximum speed, like this:
W=Axis aForward SpeedBase=1200.0 Speed=1200.0 DeadZone=0.0 Invert=+1
A=Axis aStrafe SpeedBase=1200.0 Speed=1200.0 DeadZone=0.0 Invert=-1
S=Axis aForward SpeedBase=1200.0 Speed=1200.0 DeadZone=0.0 Invert=-1
D=Axis aStrafe SpeedBase=1200.0 Speed=1200.0 DeadZone=0.0 Invert=+1
This example is made for WASD, you can (of course) set them to every key you want.
The DLC Affair #1 – Unlocking Characters
To unlock all characters, including those in the DLC, go to Avaris.ini and under [GUI.GUIController] you will find:
bUnlockCharacters=TrueTo unlock Raiden you’ll still have to complete all the challenges of the Challenge Mode. I can hear your swearing from here already, but that’s part of the fun too, isn’t it? ;)
The DLC Affair #2 – Unlocking Bonus Maps
To get the extra maps we’ll have to go through some extra steps. First of all the maps are already in the /Maps/ folder and are:
- DM-EvilHands
- DM-Sever
- OD-Ascension
- CTF-Monoxide
In addition there’s a CTF map which, for some unknown reasons, is not included in the maplists even if it’s used in many of the character ladders, which is:
- CTF-TotalControl


Unfortunately I couldn’t find out if there’s a single flag to add to some ini to magically enable them. I suspect they are somehow blocked by the menu, seeing how everything is already where it should be in the maplists. So how do we get around the block? Simple: let’s change their names! I have renamed them as follows:
- DM-EvilHands -> DM-EvilGrasp
- DM-Sever -> DM-Resect
- OD-Ascension -> OD-Ascent
- CTF-Monoxide -> CTF-Oxide – NB: This is one of my fixed maps! Replace it with my file before changing its name!
- CTF-TotalControl -> CTF-TotalCtrl – NB: You should duplicate this map and keep a version of it with the original name, otherwise you’ll get an error when playing character ladders that uses it!
Now go to the /System/ folder and open Gametypes.ini. This is the file that tells the game the playercounts for each map. Now look for all the lines in which the name of our 5 maps appears, copy and paste them, then change the name of the map on the new line. I have been careful to put them in alphabetical order to avoid problems. The result will be something like this:
LevelData=(Name="DM-Evilhands",RecommendedPlayers=4,MaxPlayers=8)
LevelData=(Name="DM-Evilgrasp",RecommendedPlayers=4,MaxPlayers=8)
The second file to edit is Maplists.ini, which is the file that controls the map lists in the Instant Action menu. Again, look for every line with the original map name and add another line with our changed name to that list. I have also added CTF-TotalCtrl to the list of medium sized CTFs. Here’s an example taken from the Small DMs list:
[DM_Small]
MaplistTitle="Small Maps: 2-4 Players"
Label="SMALL"
[...]
Maps=DM-Evilgrasp
Maps=DM-Evilhands
Last step, localization files! Open the /System/Localization/int/ folder, select all the files corresponding to the map files we have just renamed and copy-paste them into the same folder to have a duplicate. Now edit the copy names to match our alternate names and… Congratulations, you have all the DLC content available in game!
Bring LockOn to the Release values
Inside User.ini, in the [UCGameplay.UCPlayerController] section there’s a value regarding the amount of time the LockOn function looks for a target which has been modified in the final version of the game to be a little more generous. Look for the line:
LockSearchTimer=0.1And modify it to 0.3.
Enable Player Shadows
To save the few resources available in the first Xbox Epic deactivated our shadow on the ground. It’s only partially dynamic: it is a projection of our character but it’s not influenced by ambient lights. Still, it’s there if you want. Open User.ini, look for the section…
[Engine.ShadowProjector]
bShadowFromLights=false
…and set it to True. If you don’t have a powerful PC you may want to save some computing power by using a lighter, non-dynamic, version of the shadow. Fortunately, we can choose the blob shadow just like in UT2004! Open Characters.ini and search for the following lines:
[UnrealGame.UnrealPawn]
bPlayerShadows=True
bBlobShadow=False
Set bBlobShadow to True and enjoy some extra fps.
Getting Past the FINISHER Tutorial
Reach the final room where Sobek is waiting for you with the 3 bots and follow the tutorial until you have to execute the Finisher Combo. At that point open the console and use the command “Killpawns” (without quotes). The tutorial will end and you can continue until the end of the Ascension Rites.
Anything Left to Do?
Yes, of course. My biggest gripe at the moment is not being able to use the analog triggers. I found out that the game is mapping their input to JoyZ, which is great, but they are BOTH on JoyZ, which is terrible because they act like a positive and negative movement on the same axis so I haven’t been able to assign anything to them yet. Or better: I still haven’t found anything I actually want to assign to them.
Anyway the game is already playable. If you want to try something interesting I suggest you to unlock 2 mutators that actually feel like a whole new gametype: Weapon Master and Retribution. You have to win the 3rd and 5th rung of Malcolm’s Tournament Ladder to enable them. Have fun and if you happen to find some tweaks that are missing on this guide let me know!